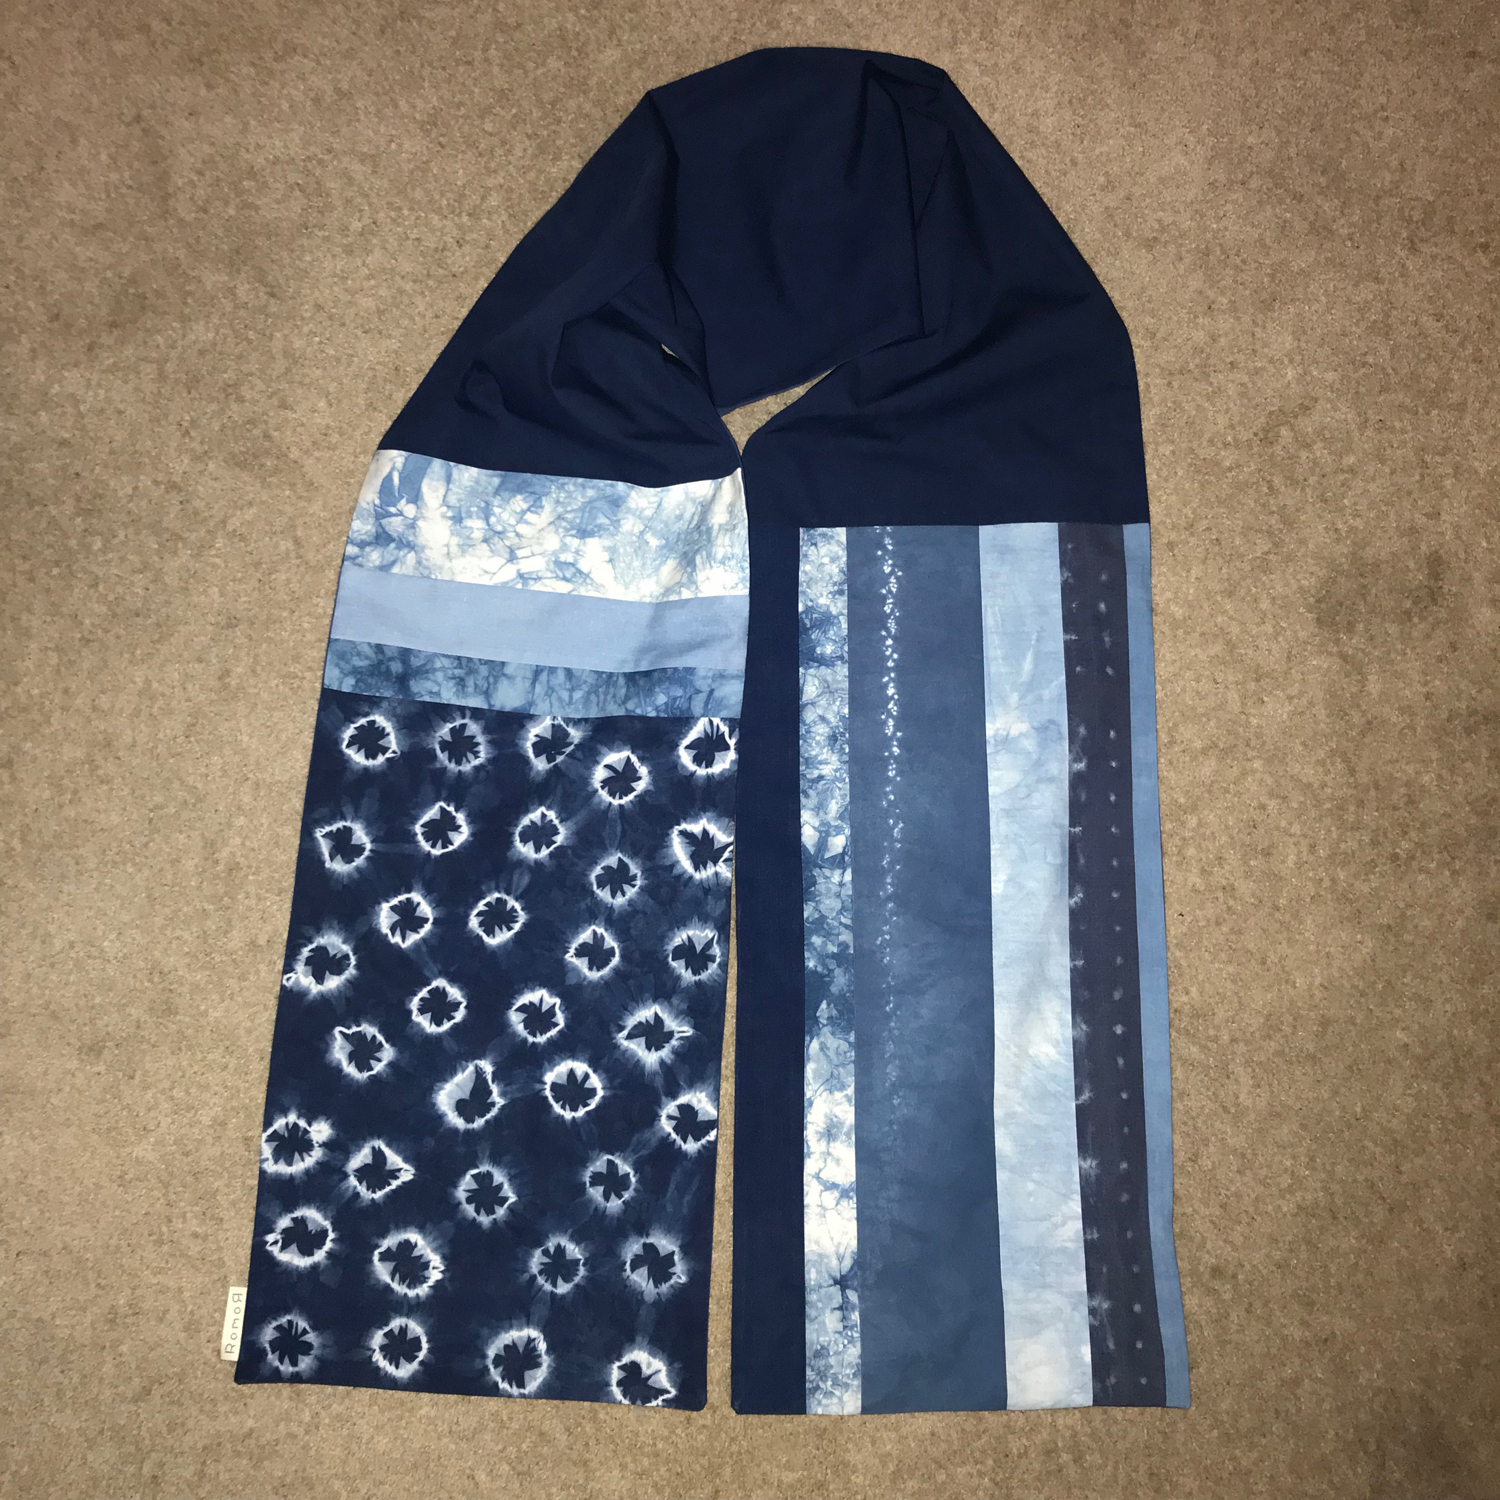
Anatomy of a Shibori indigo cotton scarf
This is a shibori stars and stripes cotton patchwork scarf. Its been sold though, sorry!
Over the years, and as I make fabric for projects and classes, I am often left with smaller pieces of fabric, many of which are lovely and certainly far too nice to throw away!
So, for Christmas 2017, I've been using these fabrics and a few pieces of shibori material I had previously bought from the wonderful Changs who you can usually find at Selvedge markets to assemble into unique and stylish shibori scarves.
The starting point is always my indigo fabrics stash! Happily I can usually find some plain dark blue indigo dyed fabric for the back or as a feature stripe, although bomaki (shibori marbling) and Itajime (clamped resist) fabrics are always good too.
Typically, I work to around a 2 metre by 28cm length. That gives you enough material to wrap around and tie at the neck and also means I know how long the individual pieces making up the front of the scarf need to be.
Having selected my component pieces of shibori fabric I lay them out to see which pieces work together. This is the fun designing bit! Occasionally I will make an extra "special" piece if I don't feel I've got quite the right balance, which means shibori work and indigo dyeing!
Then I use my extra large cutting mat, ruler and cutter to cut pieces pecisely to size before pinning and sewing them together.
Its important with patchwork to press and not Iron your seams. The difference is simple, its movement. Pressing involves keeping the iron still on the seam you are working on whereas ironing is all about moving the iron across the fabric.
Some people press their seams open but I was taught to put both edges to one side and press them flat. This is definitely beneficial when you are joining adjacent edges!
Gradually sections of the scarf grow and are joined to each other until there is a front and a back.
Typically I will make two fancy ends with either a signature block of a single pattern or pieced ends combining different fabrics to showcase lots of techniques. The long piece joining these two ends is often from a single (or two or three) strips of fabric. This also helps emphasise the length of the scarf.
I always make sure the interest is at the ends of the scarf as that's what people are looking at!
Before sewing the scarf up I will iron both front and back and then, starting at one end, pin the pieces together, taking extra care with the joins in any pieced work. Its worth pinning each of these so that, when sewing up you can make sure they lay perfectly flat as you go over them. You can also see at this point if one piece is slightly larger than the other and then cut to a perfect match.
Make sure you put the right sides (nice sides!) together to sew up or you'll be needing an unpicker!
Before sewing up on the sewing machine I pin my brand label in carefully. Always be super careful with this and when sewing it so that the label sits straight when the scarf is finished.
When sewing up start by sewing a few back stitches and then sewing round and leave a gap you can fit your hand into to turn the scarf right side out at the end. Make sure you finish this way too so either side of the open end is nice and strong.
Once I've sewn around the whole scarf I carefully cut off the four corners at a 45 degree angle making sure not to cut the stitches. This allows you to get a nice point at the corners.
I turn the scarf inside out through the hole I've left and poke the corners carefully into shape with a cute little bamboo corner poker (got to keep it Japanese!)
I then carefully press the scarf making sure the fabric at the edges is ironed flat, paying particular attention to the gap so that you can't tell where it is.
The final stage is to hand sew the gap shut using an invisible stitch. A bit fiddly but totally worth it!
If this post has inspired you why not take a class? Then you can use the fabrics you dye to make your very own scarf.


